Friday, September 13, 2013

Guest Bathroom Gutted

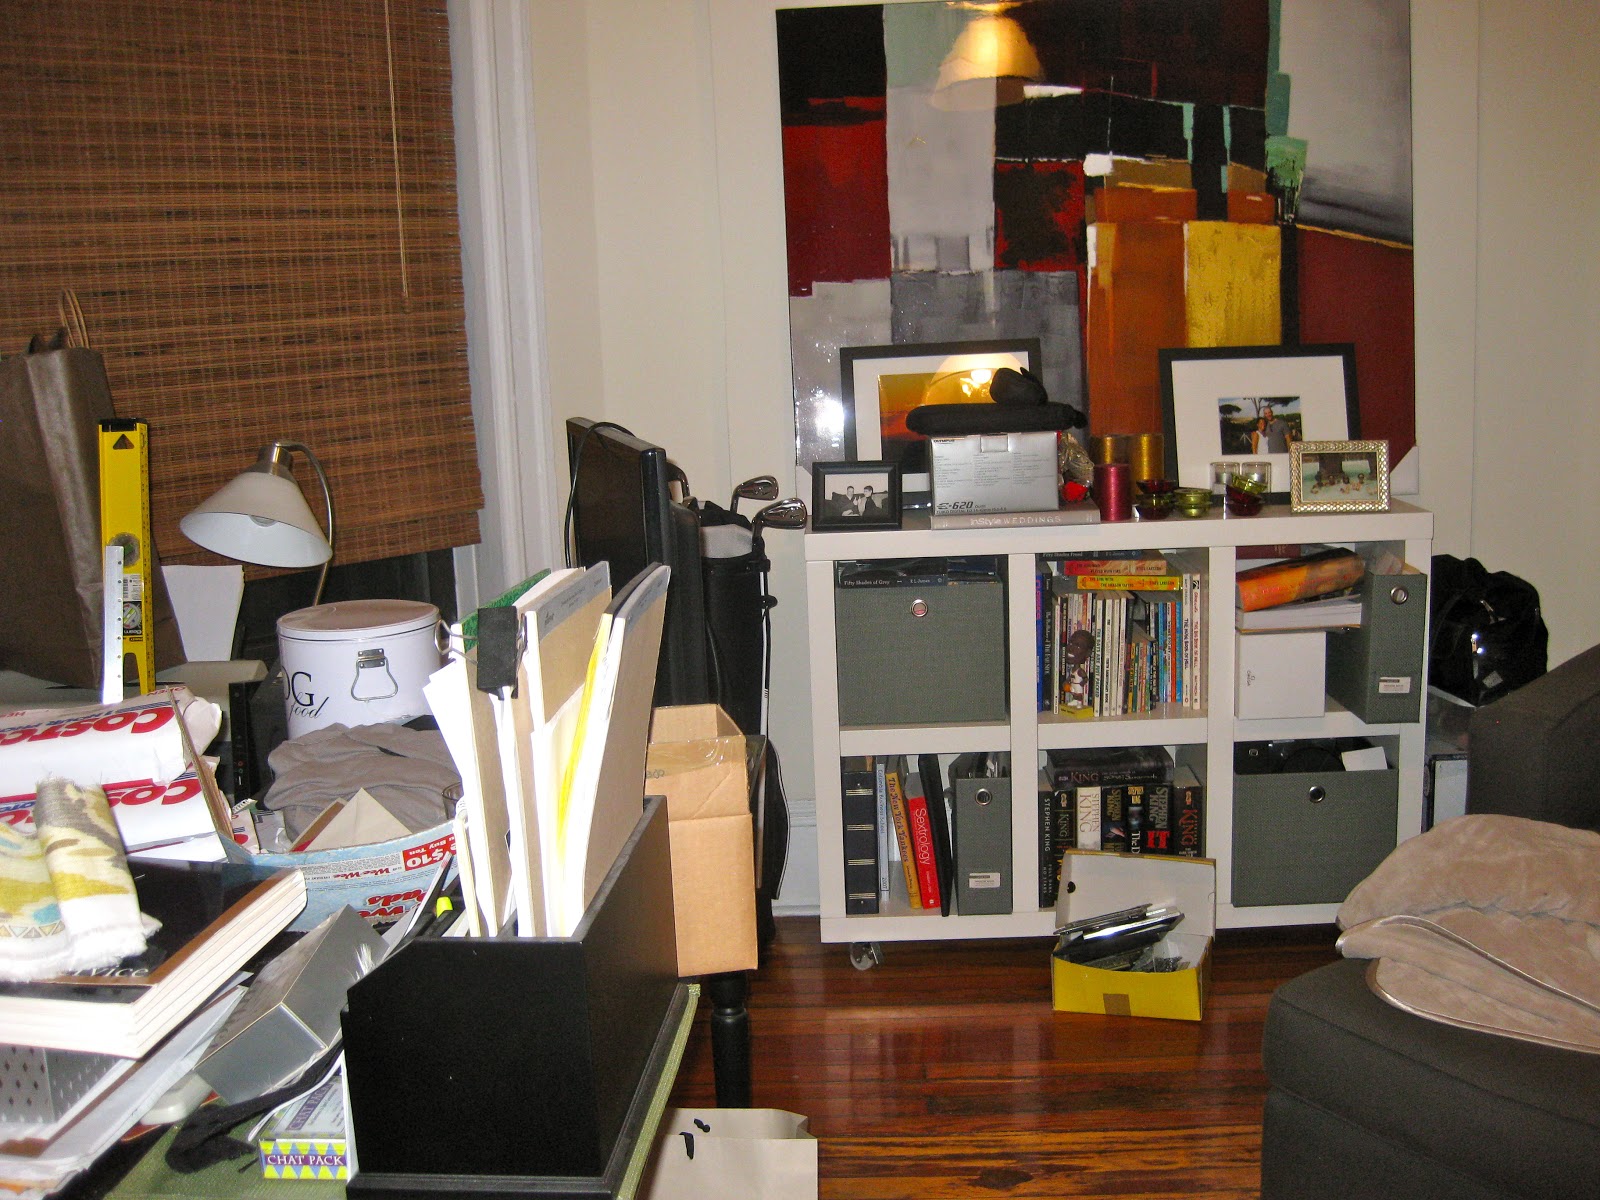
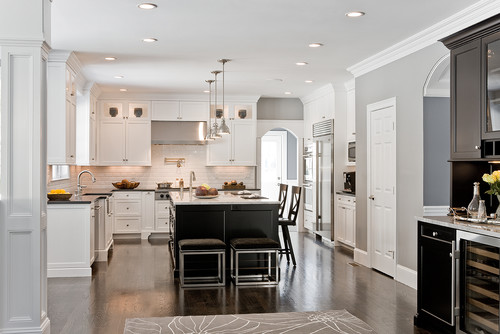
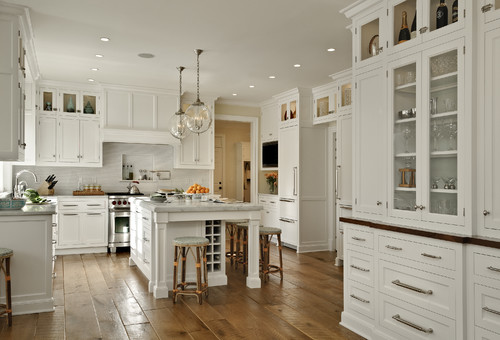
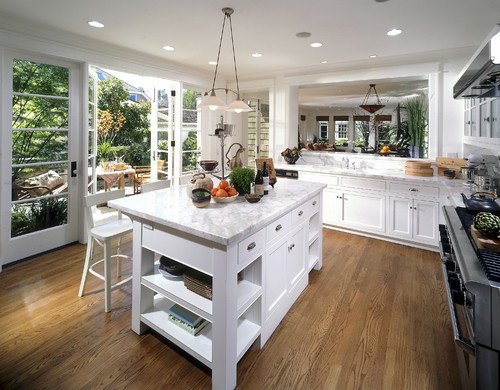
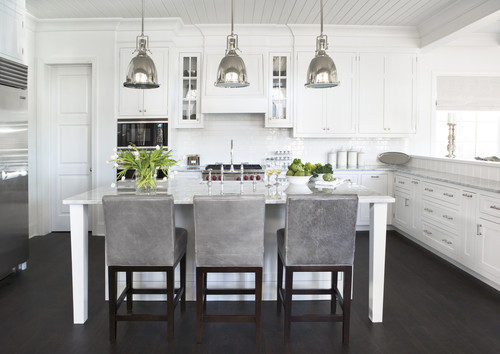
HH and I are officially suburban bound!  After many, MANY months of plotting, planning and praying we finally closed on the house last week and submitted the plans for our reno to contractors for bidding.  We were super fortunate to be able to purchase the house from my mother (more on that here) but I'm convinced there's nothing easy about buying an old home.  Case in point:


Um yea.  So at some point this summer the main waste line cracked. That right there is the devastation left behind in just one of our bathrooms after my dear mother generously had the old cast iron waste line removed and replaced from top to bottom.  Thankfully we already planned to update the plumbing and electrical as part of our larger renovation.  We didn't however plan to do any work at all to this particular bathroom.  Obviously the giant holes in the wall and the ones in the floor that now let us see directly from the third floor to our front door effectively bumped this baby right to the top of our to do list.  Here's the plan:


Small Guest Bath


Since this bathroom wasn't (and really still isn't) in our budget, we're trying to work with as much of the existing stuff as we can.  The claw foot tub and cast iron sink (which I love) will stay.  The floors and the walls are getting an update with a blueish grey ceramic penny tile and white bead board.  Luckily I'd already done some web window shopping for this bathroom after our honeymoon, and although HH nixed the Santorini blue tub with little gold feet that I day-dreamed about, I'm sticking with the same light, crisp and clean vibe.

The tub and the sink will have to be reglazed at some point and we'll also eventually update the light fixture and plumbing fixtures with modern replicas of the old ones that we have.  For now though I'm thinking new floors, new walls, and a fresh coat of paint will be game changing.  At least I hope so. 

And who knows, maybe I'll get those little gold feet after all.. :)


Thursday, January 3, 2013

Office Work

The sorry state of affairs that is our office/spare room/doggie domain has been plaguing me since the day we moved in.  It's a weird, sort of round, sort of square hallway of a room with zero natural light that connects our bedroom to the rest of the apartment.  I've rearranged the room over and over in my mind (and in reality) and the results are always kind of blah.  Well last night I got fed up once again with the ugly.  And then this happened.


I'm at it again.  No before pics sadly, but needless to say, I went HAM on the overstuffed bookshelf that was the room's number one offender. 


They're actually two separate shelves that used to be pushed back-to-back and were filled to capacity.  Obviously the point of book shelf is to hold books, but I want mine to look pretty and have room for other pretty things - not just books.  But I digress.  As you can see, the bookshelf isn't the only eyesore in the room but I had to start somewhere.  I'd love to say that desk situation was a byproduct of the bookshelf dump, but no - it's looked like that for months. Anywho, this little project was an impromptu after work special and HH, bless his heart, was completely unfazed when greeted by this hot mess.  I'm hoping that means he's coming around to my ends justify the means theory of design.  Either that or he's embraced my crazy. 

I used the same basic principles of organization from my closet redo and whittled down our book collection to stuff we either need to read, might read again, want to save for kids, or might want to lend/show off to our friends and family so they don't forget how smart we are (HA!).  This is what didn't make the cut.  First to go: the alleged so-called comedy at top left that I've been itching to ditch since I first spied it in HH's bachelor pad way back when.  So long, my friend!
 

Ironically, I stumbled across this post with great styling tips from Everygirl.  Would have been helpful had I actually read it,  but alas, in true me fashion, I only looked at the pictures.  Basically, that's my way of saying, don't hold me accountable for the styling.  It's provisional.  I fully intend to read up on the art of styling a shelf/nightstand/coffee table/desk, you name it, but for now, I'm thrilled just to have space to practice.


About that chair - so we've lived in our apartment for two years and thus far our dog has been the only one to sit in it.  Sad because it was literally hell on earth to squeeze the thing through the four(!) doorways it had to pass through to get in there to begin with.  Said chair used to be flush against the wall crammed next to the bookshelves.  The very opposite of cozy and inviting reading nook.  The little shimmy to the left and reconfiguration of the shelves made all the difference I think.  For now at least.

Like I said, I'm going to take another pass at the shelf styling once I get the room in better shape but for now I'm glad to have at least carved out a pretty space for the pictures and whatnot that HH and I have collected through the years - most notably our uber cute cake topper doppelgangers from our wedding!
 

Thrilled as I am with my bookshelf progress, here's what awaits me next.


Buried under that crazy mess is actually a cute desk that one day I'd love to paint white and pair with some kind of mod desk chair or maybe a ghost chair.  I absolutely abhor the magnetic boards above the desk that at one point I absolutely "had" to have.  We have to walk by them to get to the bedroom and I can think of nothing less inspiring than a random collection of stale to-do lists, bus schedules and old pics of drunken revelry.  Must replace.  I'll likely relocate the Brooklyn poster lurking behind the desk and DIY some cheap chic art.  As for all the other crap, who knows.  But until then, how freakin cute are these cake people??


Totally worth the little white lie I may or may not have told HH about how much they cost.  It's so hard to find black people cake toppers that don't look cheap or crazy.  Lucky for me, clothes pins are brown and Etsy is choc full of vendors who will dress them up any way you want.  Highly recommend Milktea Caketoppers - we're still getting compliments, and now they'll live happily ever after right along with us!

Linking up with the Organize It Challenge at Our Fifth House.

Tuesday, January 1, 2013

Resolved

I'm usually not a new years resolution type of gal but this year I'm breaking with tradition.  2012 was such a big one for me both personally and professionally, it's hard to imagine topping it.  I'm not even going to try.  That said, I'm fully aware that having a banner year is a blessing and I've resolved do to  whatever I can to keep the good times rolling - starting with setting some goals for 2013.

1.  Be thankful.  All day, every day.  So much to be thankful for in life and in love.  Helps keep things in perspective.   And speaking of being thankful, I'd be SUPER over-the-moon grateful if HH and I are fortunate enough to add to our new little family this year but I'm resolved to not stress this one and leave it firmly in His hands.


2.  Be intentional.  Not sure if that's the best way to sum this one up, but at any given point there are 99 projects, plans, side-hustles and whatnot running through my mind.  More often than not I'm hyper-focused (HH would say OCD) for a good day or so and then said plan is discarded and I'm on to the next.  This year I'd like to be a bit more selective with my time and energy so I have more time (and energy) to execute.


3.  Cook more.  Nuff said.  Maybe if I sleep with dear Ina's books under my pillow some of her domestic goddessness will osmose into my brain? Maybe?

Nutella Sea Salt Cookies.   Yes, sir.


4.  Create more.  With more free time on my hands I've discovered a creative itch that's been stifled for years by work, work, and more work.  Wedding planning filled the void last year and I've been thinking about dabbling in photography and/or interior design.  Professional classes aren't in the budget this year and refinishing furniture projects will have to wait until we have more space; but nevertheless, I'm determined to find budget-friendly ways to get my creative juices flowing in 2013.


5.  Keep cultivating my personal style.  In the last year or so I've been working harder at finding and staying true my personal style (and budget).  In a city full of fashionistas and fauxnistas it's sometimes hard not to give into crazy trends or try to keep up with the Jones'.  I'm much happier when I save up for things I love and even more so when I'm comfortable.

current fashion muse

I heart gold.  In ALL of it's lovely shapes and sizes!

6.  Hit the gym.  Hard.  Post-wedding fatigue is no joke.  Gotta shake up the workout routine and recommit.  Hoping that finding new ways to work out will help me reengage.   And when all else fails, there's Halle Berry - fitness inspiration personified.

Can I get a Amen.  
7.  Read.  I'm SUCH a lazy reader.  Must get out of my romance novel-rut.

Ideal Bookshelf 353: English Lit (Jane Mount)
8.  Make good money decisions.  Gotta do better at remembering the long term goals (uh, like renovating our house) and not let short term impulse buys get in the way.  Here's to keeping my eyes (and coins) on the prize: this kitchen. In my house.

Logan's Hammer Building & Renovation
9.  Get out of Park Slope.  HH and I love our hood and spend a lot of time on the weekends within a 10 block radius of our apartment.  We won't be here forever and BK has a lot to offer.  Looking forward to  checking out pretty places like these and exploring more of the best borough in 2013.  Oh.  And I must finally walk across the Brooklyn Bridge.  Must.


Buttermilk Channel

James Restaurant


10.  Be happy.  Firm believer that happiness is a choice.  Just a friendly reminder.


Can't wait to see what 2013 has in store for us! 

Monday, November 5, 2012

The Home Front: Finding an Architect

I started this blog to document our very long process of buying and renovating my old childhood home. And when I say long process, I mean VERY long. For some, the idea of moving back to your childhood home would be the very opposite of a good time.  Fortunately for me, I loved my childhood and I loved where I lived.  My mom's ready to downsize and we're ready to upsize, so it's a win win for everyone.


Isn't she puurty?  I was standing too close (too lazy to cross the street) so you can't see the front and side yards but hopefully you get the point. With five bedrooms and three and two half bathrooms, it's a whole lotta house for HH and I but she has great bones and as our family gets bigger, we'll be able to grow into the house. My mom's done a great job of preserving the details that make old homes so wonderful and HH and I can't wait to put our own, more contemporary stamp on things. We thought about looking for a house that would be new to both of us, but in our price range, but there's no way we'd be able to afford this much house and have enough left over to put in the work it would likely need. And then there's the taxes. They're objectively insane, but living in Montclair is an absolute must for me and the crazy ass taxes limit our options quite a bit. This way we get get a great old house full of memories that we can continue to love and tweak into exactly the home we want over time.

Inside, it's your traditional center hall colonial but with a two-story addition on the left (the side hidden by the big old tree...) that was made by the previous owners. The goal is to gradually make improvements that bring it more in line with modern living while respecting the more traditional "dignity" of the home. As with most things, our wish list is huge and our budget not so much, so we're  focusing on the infrastructure and maximizing the use of space.  

Phase I To Do List - The Good, the Bad and the Ugly:
  • Whole-house electrical wiring 
  • Install central air
  • Paint and plaster every single room
  • Kitchen:  gut reno to enlarge existing family room, improve mudroom, update half bath, and maximize light (more about my kitchen plans here)
  • Laundry room: move to second floor
  • Windows:  ugh. new windows throughout to maximize efficiency (little by little)
  • Floors:  first floor only - refinish/stain/replace existing hardwoods (whichever's cheaper)
  • Master Bedroom:  second floor addition.  expand en-suite bath and add his and hers closet (gulp)
  • Second Floor Bathroom:  update as much as we can with as much as we've got left
Phases II thru XX involve me DIYing the bathroom in Penny Heaven (aka the third floor - you can read about why we call it that here), renovating the basement, adding a fence, landscaping, installing a batting cage for HH among other things.  We'll be busy for a good long while.  Skipping the sordid details (yes there are more!), we're planning to start renovations in October 2013.  Little Debbie will move in here once our tenants are out and HH and I will remain in BK watching the clock and praying like heck that it all gets done by May/June 2014.  

The first step is finding an architect to make all of these wishes a reality.  Can I just say I was more than a little dumbfounded by the cost of hiring an architect.  In our case it was a must given the age of the home and the scope of the changes to the layout of the first floor and the master-bedroom suite addition. For any of you in the early stages of budget planning, be prepared to earmark about ten percent to the architect.  I was floored.  You can contract for an hourly rate or a percentage of the budget depending on your project and preferences but we're opting for a hybrid i.e., a negotiated hourly rate not to exceed ten percent of our agreed budget.  Whichever method you choose, make sure you're comfortable that the scope of work is clearly defined to avoid any nasty surprises once construction is underway. If you're going with an upset limit like us, make sure it covers you for as long as you need - in our case  through the bid process and contract negotiation phase, thru to construction documents and any necessary revisions thereto (and construction management if you need and can get it - we're going a la carte on that phase).  

We've interviewed three local architects and took a tour of a several renovated homes in our town with a prospective contractor.  My takeaways so far from the architect vetting process so far:
  1. Spend some time getting to know your house and have your property survey on hand.  The architects will expect you to know some basic things like what kind of wiring you have, additions/renovations by previous owners, age of the roof, boiler, furnace, etc. The more you can tell them about your house, the better able they are to issue-spot for you and maximize your resources.  Having the survey on-hand will help them figure out whether you your plans will require variances from your zoning board.
  2. Choose someone you think you will work well with for a long time - if you're not vibing well now you darn sure won't be six months from now when you're knee deep in the weeds or, God forbid, if the ish hits the fan.
  3. Go with someone local who's well respected in your area and familiar with your town's zoning rules, ordinances, contractors, suppliers and VIPs etc. in case you need any variances or run into any inspection issues.  Having someone who knows all of the key players can make all the difference, or so I'm told.
  4. Ask the architect to arrange for a tour of complete and near complete projects.
The house tour was by far my favorite part of this whole process to date.  I didn't know you could tour homes this early on but one of architects we met with encouraged us to get out and see his work and I'm so glad we did.  Loved, loved, loved house crashing our neighbors and seeing the restoration of wonderful old homes.  It was a great way to get ideas for our project and made us much more comfortable with our choice (not surprisingly, the guy who recommended the house tour).  I'm so looking forward to more house crashing when we finally get down to selecting a contractor.  

Anyone out there planning or in the early stages of a big reno? Feel free to send any advice, horror/success stories my way.  We can use all the help we can get!

Saturday, November 3, 2012

I Made Something! aka DIY Roller Shades for Dummies

I'm one of those people who gets a seasonal itch to change up my bedroom and bathroom linens.  I get it from my mama.  As a kid, whenever it got chilly I'd come home to a cozy new comforter and curtains, so every year around this time I get twitchy to change things up.   For me, finding and committing to a new duvet is akin to the search for the fountain of youth, so I set my sights on the bathroom.  

Bathroom Updates


Pausing here a minute to pat myself on the back for my newly-acquired mood board skills (!!) thanks to this great step-by-step tutorial from Dana over at House*Tweaking.

Stupidly, I neglected to take any before pics of the bathroom.  In all honesty the before wasn't that bad but for the fact that there is ZERO natural light in our bathroom. Ironically the first thing you see when you walk in is a giant window, but sadly it's covered in dark frosted glass and faces directly onto a brick wall.  Although I'm thankful for the ventilation, I've been looking for a cheap and easy way to cover up the eyesore window since the day we moved in. DIY roller shades are all the rage in blogland, and since it's one of the few projects that requires no power tools, sewing, or schlepping of heavy materials on subways, I was all over it.  And here she is!


So, I have to admit, choirs of angels did not break out into song when all was said and done as I'd hoped (in my head).  I'm a little "eh" about the fabric and the fact that you can still see so much of the ugly black window, but I am SUPER proud of myself for successfully executing this little DIY project.  We've been living with our pretty new shade for a couple of weeks now and I still get a kick out of seeing my handiwork every morning.  Yay for the little things.

Thankfully, making the shade was simple a la these idiot-proof instructions from Emily Clark.  I started with a basic vinyl roller shade, wrapped it in fabric and glued the edges.   Easy!


None of the instructions I found online really addressed how to handle wrapping the fabric at the top where the vinyl connects to the roller thing.  In my case, the vinyl was stapled to a heavy duty cardboard tube thing at the top.   I could probably have left the very top uncovered since it would probably be covered when the shade is rolled up, but I decided to just unstaple the vinyl from the roller which worked out great because it allowed me to cut the vinyl exactly to length (I ordered it a little too long) without having to mess with the finished part at the bottom (the part you pull on).  It also made wrapping the vinyl in fabric easier without having to deal with the top part still being attached to the roller.  When I was done gluing, I just stapled/glued the fabric-covered vinyl back to the roller.


My fabric glue said wait 24 hours to dry but who has time for that!  I gave it a few hours and then enlisted the help of Handsome Hubby to hang the shade.

witness the big ugly eyesore (the window not HH!) :)


The lack of natural lighting foiled my attempts to take pretty after pics - in reality it's more citrus than mustard, but either way, there is A LOT of yellow going on in here. I'm on the hunt for colorful accents to break things up - maybe a blue bowl for my jewelry or a succulent plant (anyone know if they can live without sun?).  We shall see. 

Ambivalence about the fabric (and the yellow) notwithstanding, I'm fully on the DIY roller shade bandwagon.  So much so that I'm planning to tackle our kitchen window next - except this time I think I'm going to try painting on some stripes like this:

Better Homes & Gardens
Stay tuned...

Sunday, October 14, 2012

Kitchinspiration

For the last few weeks Handsome Hubby (HH) and I have been meeting with architects to discuss our big renovation project.  We have lots to think about and more homework to do before we pick a team but on the plus side, no one fled the premises when we we finally got down to talking budget - even after seeing the basement.

Going into the talks, the kitchen was my biggest concern.  The current kitchen is big, which is great, but the big footprint means the cost of gut renovating it could easily break the bank.  We want to open up the floor plan to all allow for a better flow between the mudroom and adjoining dining room and family room.  We could easily spend our entire budget on the kitchen with all of that and new floors, counters, fixtures, etc., but that's not because mama needs a new closet!  Aside from the kitchen, we've got a huge upstairs master bath/closet addition planned (among other things) so we have to find a team that's creative and willing to re-purpose as much as possible.

The big takeaway from our preliminary meetings is that our wishlist is pretty steep but in the kitchen it looks like we'll be able to get more than enough to make us happy by refinishing the exiting hardwood floors and some of the cabinets, and reusing a few of the appliances that Little Debbie recently upgraded.  So our kitchen dreams live on and I finally have a legitimate excuse for oogling kitchinspiration pictures so the architects and contractors can get a better sense of our style.  

LOVE everything about this kitchen from the white, shaker style cabinets, marble counters with contrasting walnut (?) island to the subway tile backsplash and hardwood floors.  Oh, and the windows.    Sigh.

Logan's Hammer Building & Renovation
If I could, I'd put a window next to every cabinet just like this.  And the vaulted tongue and groove ceiling?! Yes, please.
At first I thought I would die without Cararra marble counters like these, but after weighing the pros and cons (and cost!), I quickly changed my mind.  HH would KILL me if we spent all of that money on nice and shiny marble only to have it etched up and stained a few months later.  Fortunately there are lots of pretty marble look-a-likes out there in granite and quartzite that I would be more happy with and that won't require me to maintain an acid and red-wine free kitchen.

Vengas & Company
With this "supreme white" granite, I'd get the look of marble without the housekeeping headaches. I'm also really liking the idea of breaking up all of the white with a contrasting island - maybe with a contrasting island or a bar built-in like this?

Vengas and Company
Kashmir white granite seems like another good white marble alternative.  

Shuffle Interiors
More Kashmir White via Rambling Renovators
I think granite is our best bet because of it's toughness, but this Bianco Macabus quartzite is a dead ringer for Cararra marble.  Thanks to Erin from Elements of Style for the tip!


I'm leaning towards a white subway tile backsplash since it's classic and clean (and cheap) but how cool is this?!


I always over research the hell out of things, so here's even more pretty kitchenspiration :)